Running a food stall on EventPass
Everything you need as a food vendor — from the invite email to handing over the last order on the day. No training call needed.
What you do as a vendor
The organizer invites you to run a food stall at their event. You publish your own menu, buyers pre-order from the event page and pay you directly by e-Transfer, and you confirm their payments in your vendor dashboard. You keep the money — EventPass never touches it.
Your dashboard has four tabs — Orders, Menu, Redeem, and Settings — and you only ever see your own stall. The dashboard opens on Orders, but do Settings first: nothing else works properly until your payment email is set.
1. Getting in
Click the verify link in your invite email. The link lasts 24 hours and can only be used once. If it says the link didn't work, your email is usually already verified — just try signing in.
Sign in at eventpass.aicloudconsult.com/login with the password the organizer gave you. The password is never in the email — the organizer passes it to you separately (usually by WhatsApp or a call).
If the password is lost, use “Forgot password?” on the sign-in page. A reset link goes to your email, and it works for one hour. If you never got the invite at all, ask your organizer to send it again.
2. Settings first
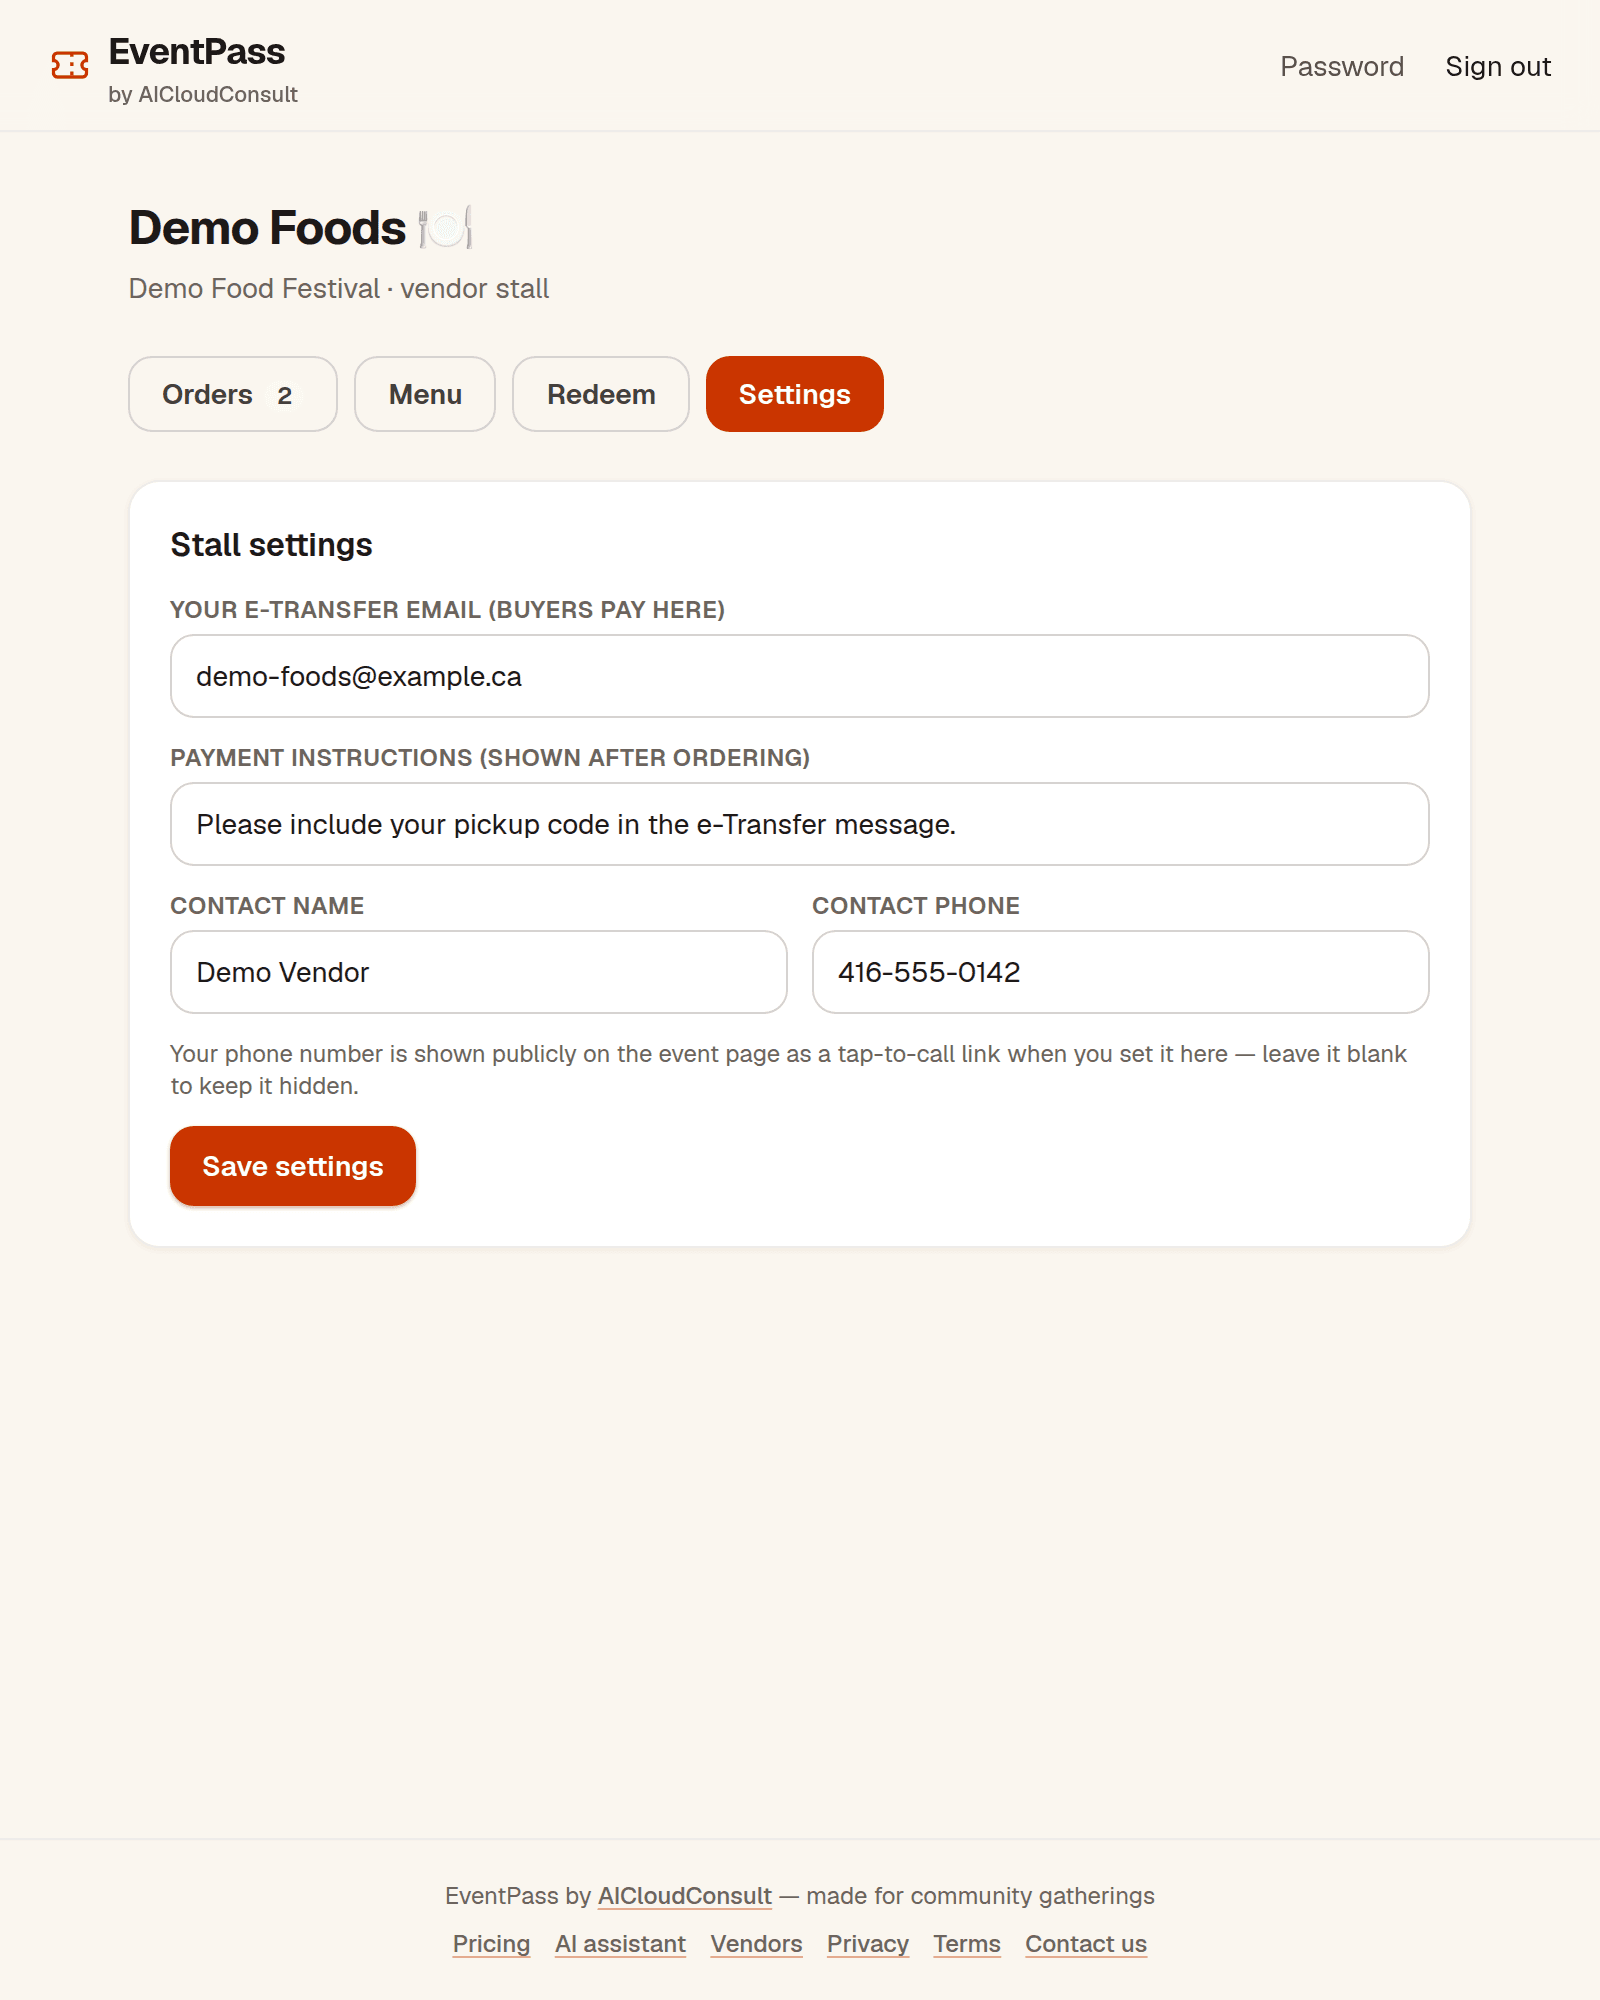
Open the Settings tab and fill in “Your e-Transfer email (buyers pay here)”. This is the address buyers send their payment to — and buyers can't pre-order from your stall until it's set, even though your stall is already listed on the event page. If you haven't set it yet, the dashboard shows you a reminder at the top of the page.
While you're there, add payment instructions — shown to buyers after they order (for example, “Please include your pickup code in the e-Transfer message”) — plus your contact name and phone. Your phone number is shown publicly on the event page as a tap-to-call link when you set it here — leave it blank to keep it hidden. Press Save settings.
3. Your menu
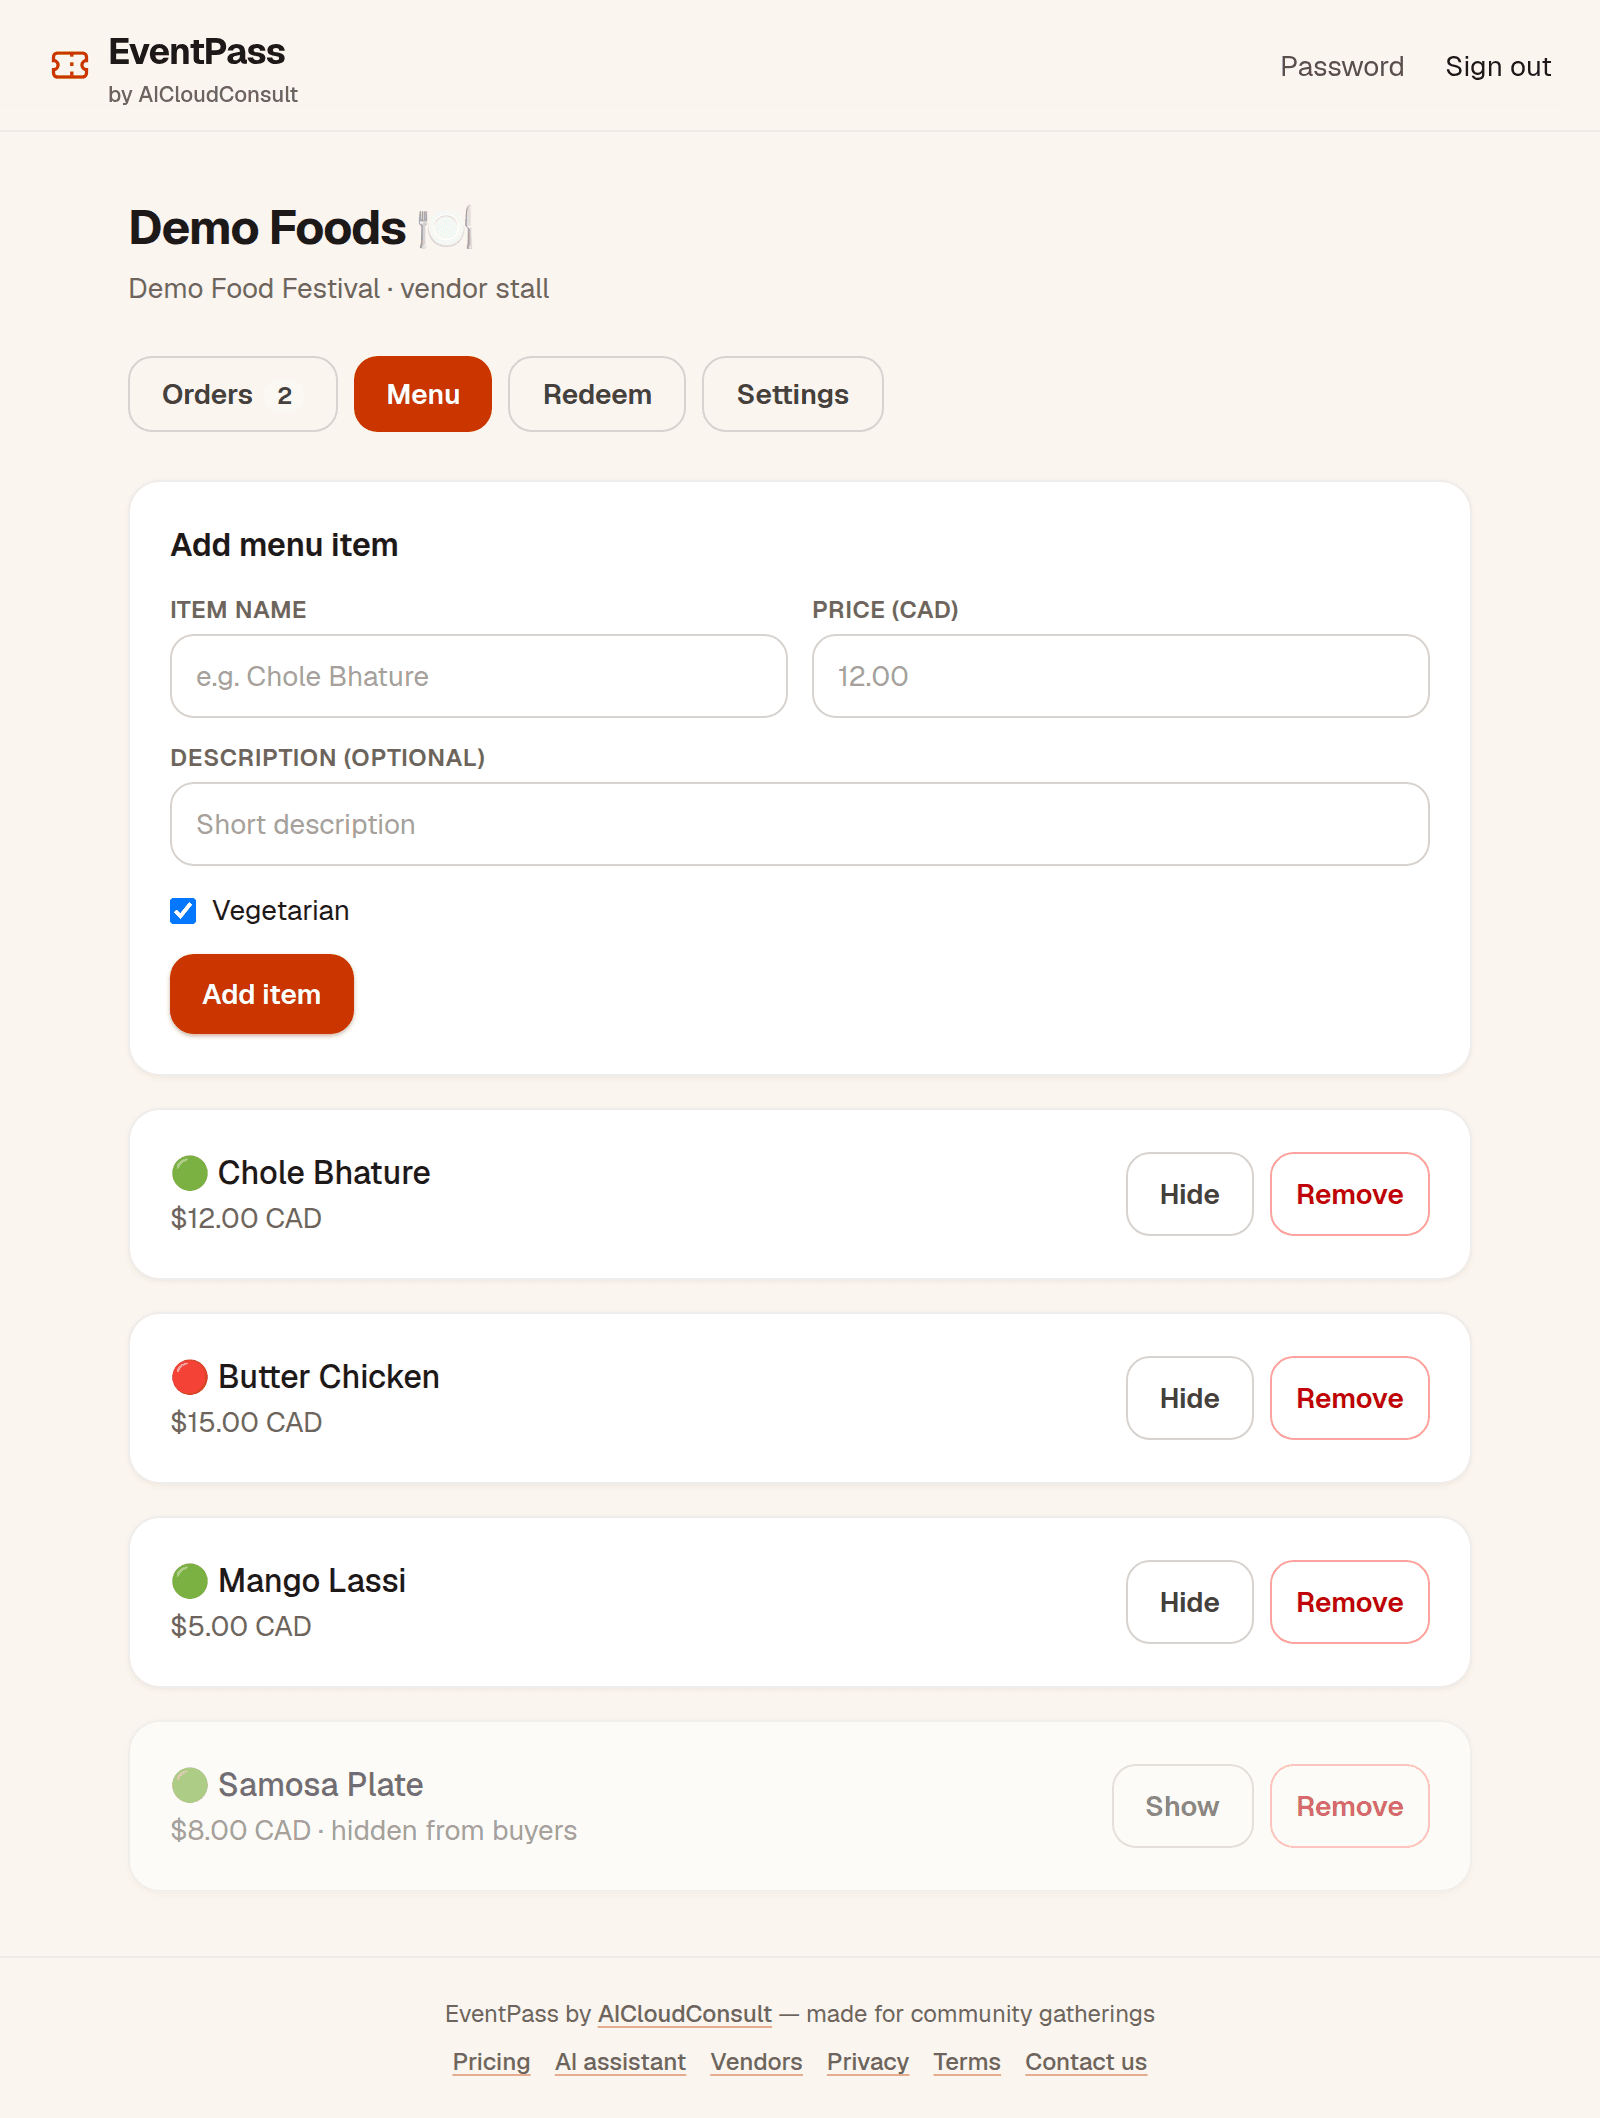
Open the Menu tab and add an item: a name, a price in CAD, an optional description, and the Vegetarian tick if it applies. Press Add item. Only items that are visible show up on the event page for buyers.
Adding a menu is optional — your stall is already listed on the event page, and without any items it simply shows as “Menu coming soon”. Add items whenever you're ready; they appear for buyers right away.
Each item has Hide / Show — hidden items stay on your menu but buyers can't see or order them — and Remove, which asks you to confirm first. You can change your menu any time before the event.
4. Orders — confirming payments
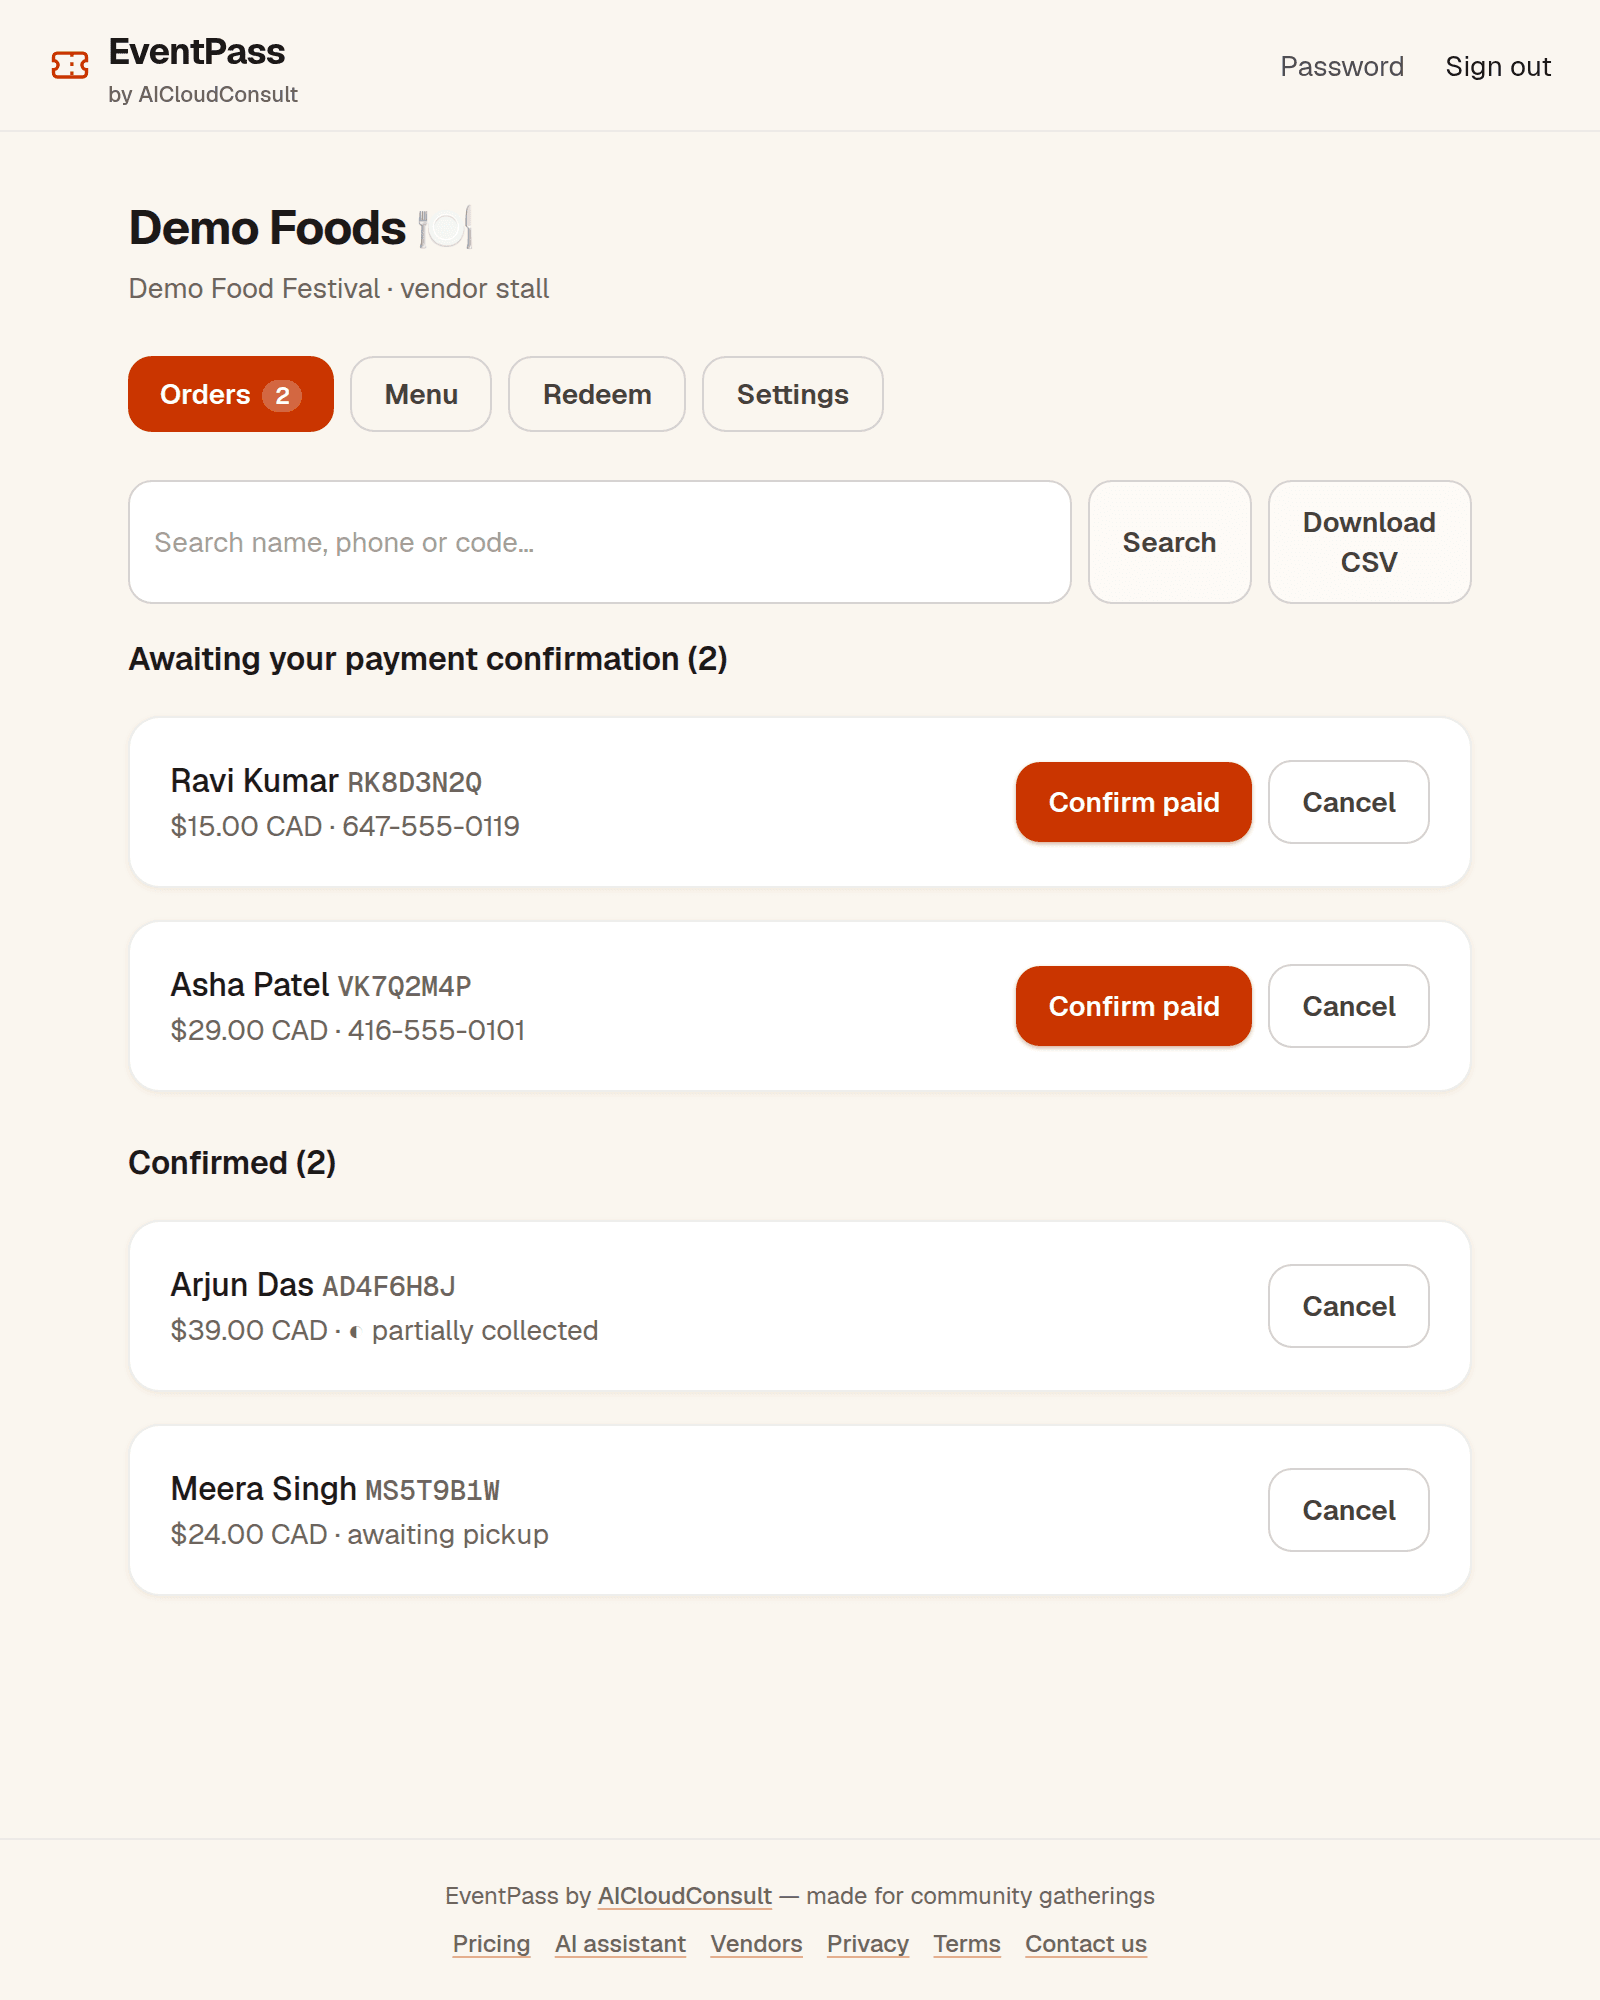
The Orders tab is where you confirm payments. The number on the tab is how many orders are waiting for you. Search by name, phone, or pickup code, and use Download CSV to take all your pre-orders as a spreadsheet.
Under “Awaiting your payment confirmation”, each order shows the buyer, the amount, and their phone number. When the buyer's e-Transfer lands in your account, press Confirm paid. If an order isn't going ahead, press Cancel — it asks twice, so a stray tap can't cancel anything.
Below that, Confirmed shows every paid order as collected, partially collected, or awaiting pickup. If you ever need to cancel a confirmed order, it asks “Refunded via e-Transfer?” first — cancel only after you've sent the refund.
5. Redeem — handing orders over
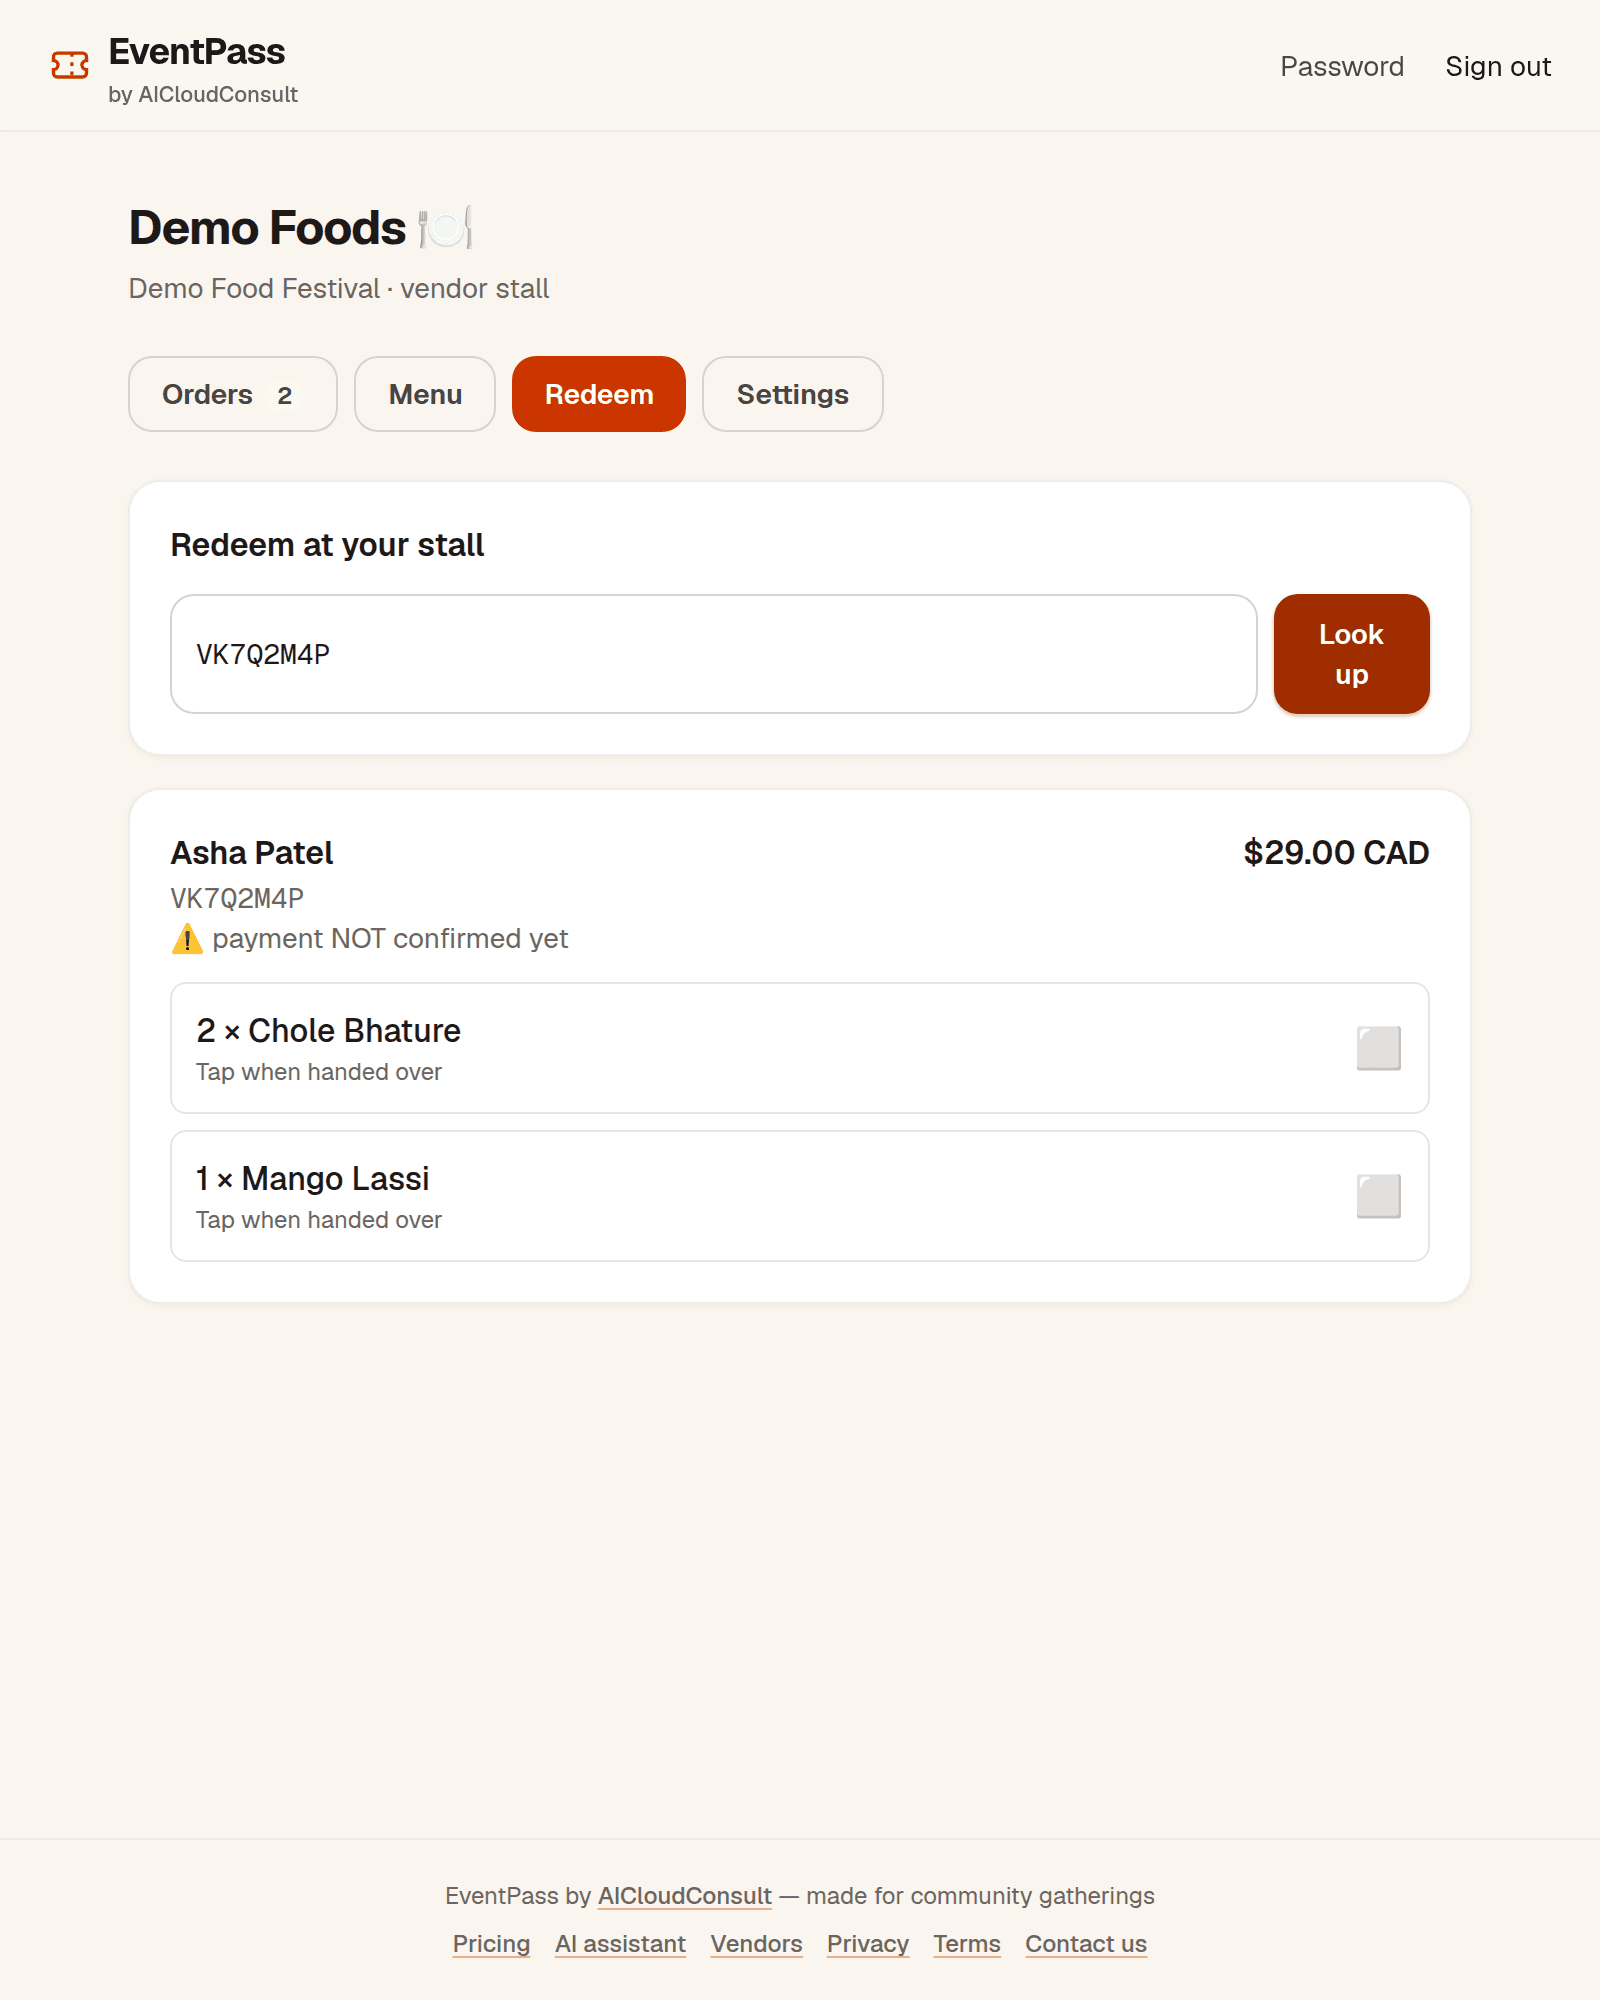
On the day, open the Redeem tab. Type the buyer's pickup code (the code from their order confirmation) and press Look up. You'll see the buyer's name, the code, the total, and the payment status:
- ✅ payment confirmed — hand the food over.
- ⚠️ payment NOT confirmed yet — ask the buyer to pay first (or check the Orders tab), then hand it over once you've confirmed it.
- ❌ order cancelled — do not hand over any items.
Tap each item as you hand it over — tap again to undo. If the code belongs to another stall, the page names that stall so you can point the buyer to the right place.
6. The money
Buyers pay you directly by e-Transfer to the email you set in Settings — EventPass never touches the money. Your job is to check your own account and press Confirm paid in the Orders tab when each payment lands. Until you confirm it, the order stays in “Awaiting your payment confirmation” and the buyer's tickets (if any) stay pending.
If a buyer says they paid and you can't see it, check the email address in Settings first — a typo there sends their money to the wrong place. And if you change your e-Transfer email, tell your organizer so they can let buyers know.
See a demo stall
Want to look around a finished vendor dashboard before touching your own? Open the demo stall — it opens read-only, exactly as a vendor would see it. It runs on fake data, so feel free to look around: nothing you tap there changes anything.
Stuck?
Your organizer can help with passwords, invites, and anything about the event itself. For anything about EventPass, contact the EventPass team.